


I demonstrated card-making at an incredible workshop last week for my friend [and, as of yesterday, new team member] Allie G. Instead of my tried-and-true set of workshop cards, Allie special-requested a tea-themed card. Allie asks, Allie gets!
Here’s the card Allie and 14 (or more) of her friends made:
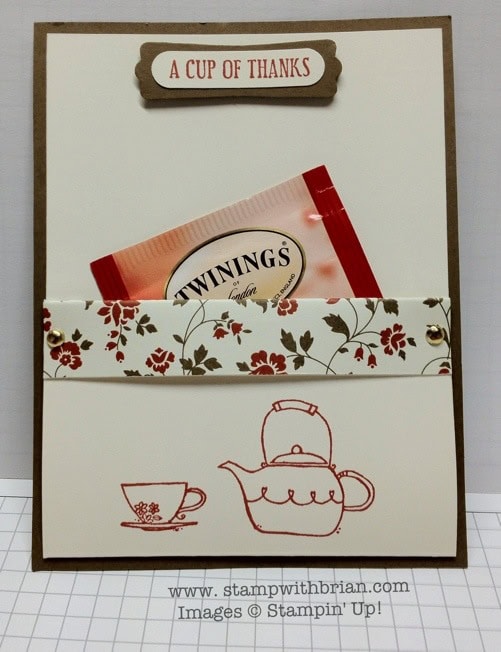
With such a large group, we assembled this card in a long procession from station to station, but each and every participant got one done. A small sliver of Comfort Cafe DSP sets the mood for this warm and friendly tea bag holder.
I cut a piece of Soft Suede card stock into fourths (4-1/2″ x 5-1/2″) and then cut a piece of Very Vanilla card stock to 4″ x 8″. I scored the Very Vanilla card stock at 5″ and 7-1/2″. Simply fold the card stock in half, fold back 1/2″ flap and then cover it with a little DSP (glued to the inside of the card) and then add the brads. You now have a perfect pouch for a packaged tea bag! Allie also provided a little honey straw for her guests, but I may have already used my honey straw in a big mug of tea.
Tips, Tricks and Reminders:
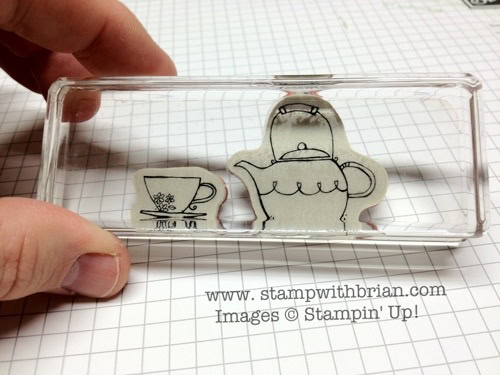
- One ink-up, one stamp-off. Minimize the work by maximizing your blocks. The introduction of clear-mount stamps meant that we can combine our stamps on one block to get the perfect image. One ink-up, one stamp-off. Simply line up the clear-mount stamps and press them onto the block.
- Play with the card structures. This card doesn’t open up – the base is only 1/4 a sheet of card stock. Should I want to include a sentiment, there are still several options without having to change the structure created here: I could add a little note into the pouch or write my note directly on the vanilla space above the tea bag or even add a note to the back. Either way, the recipient of this card is going to want to show it off, so don’t add an extremely personal sentiment to this card front. 🙂
Stamp sets: Morning Cup, Tea Shoppe Paper: Soft Suede, Very Vanilla, Comfort Cafe Designer Series Paper. Inks: Cajun Craze. Accessories: 3/16″ Metallic Brads, paper-piercing tool, paper piercing mat, Stampin’ Dimensionals, Modern punch, Word Window punch
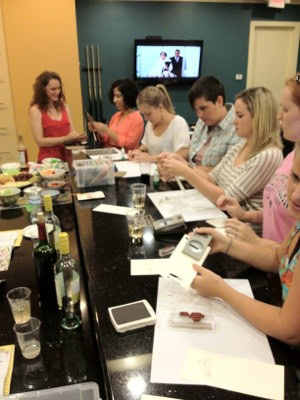
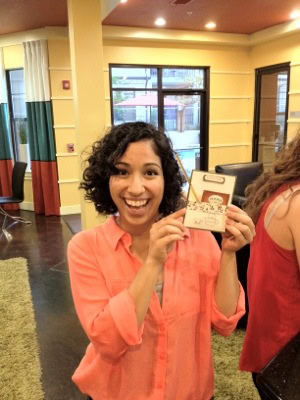
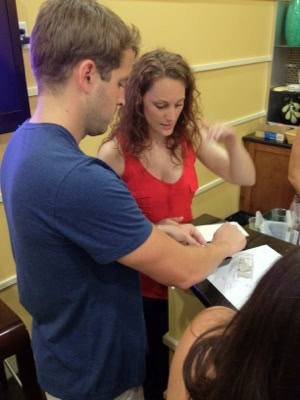
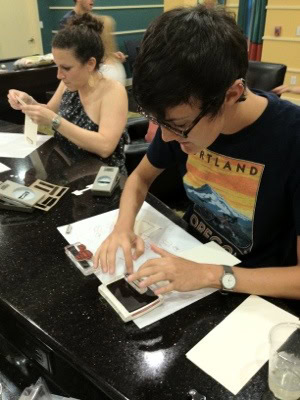
Here are some other pictures from the party:
Thanks for stopping by my blog today!
Brian


I really like this card. But what I like even more are your explanations and tips. As a cardmaking newbie, I appreciate your comments. Thanks.
Thanks, Kathy! I am having a really good time sharing, so I appreciate the positive feedback I’ve received. Welcome to cardmaking!
After rereading the directions, I have a question. You said to cut the Very Vanilla 4″x8″ and then score the Very Vanilla at 5″ and 81/2″ Am I scoring a second piece of Very Vanilla?
Ooops! I just edited the original post. It should have said to score at 5″ and 7-1/2″, and that’s what it NOW says. Thanks for the heads-up, Kathy!
Great group of friends there! And I see you’re all liqueured up! 🙂
Good times stampin’ with friends, love this Pocket Card Front” layout!
Ha! I only knew a small handful of them before the party, but they all had a great time, so I hope I’ll see more of them. I thought it funny, too, that it required so much wine to make a tea-themed card. 🙂
Super cute. I will make up a bunch of these as get well cards.
Yes, I see Allie provided some “adult beverages” at her workshop. Will you invite me to your next party? I live in NJ but I’ll make the trip 🙂
Don’t get charged with a SUI – stamping under the influence! Lol
LOVE THIS! Congrats to you BK, and congrats to Allie on the new status…! 🙂 Love the pics!