Tutorial: The World’s Easiest Shaker Card
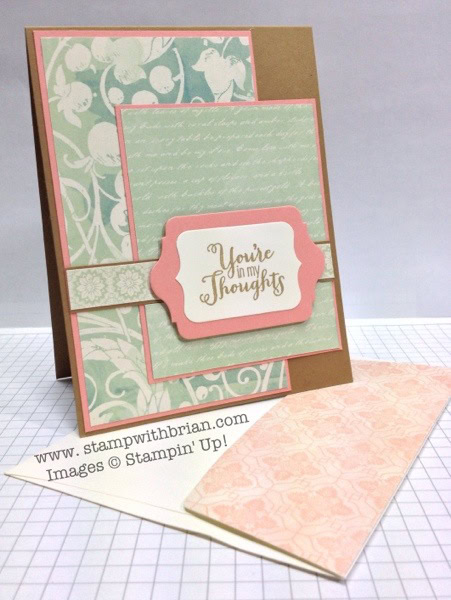
Yesterday I shared my first shaker card. While I have the Shaker Frames that are in the Annual Catalog (they are a great way to start a shaker card), I decided to go another route for this one. Here’s the card I shared yesterday: Today, I’m going to share the step-by-step instructions for how you can create this shaker card with its subtle peek-a-boos of sequins. Cut the Box. The front face of this card…