


Every year (right around December 23) we wrap all of our last-minute gifts in the beautiful, high quality wrapping paper we bought from the local elementary school fundraiser and then – gasp – stick those tacky, foil tags on the gifts. Not this year! Today I want to showcase some easy, but super-adorable, Christmas tags I made with Tags til Christmas and Delightful Decorations.
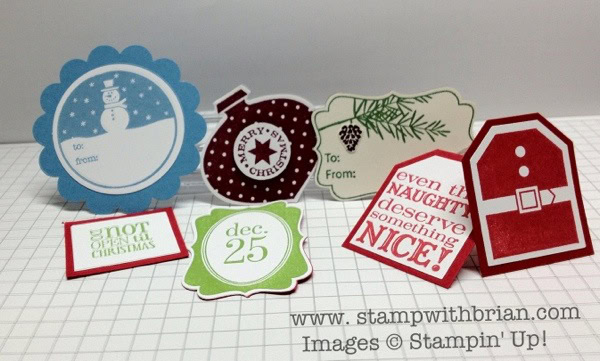
With these two stamp sets, a few punches and a variety of colorful papers and inks, we are ready to make a stack of these labels for our Christmas gift-giving.
Tips, tricks and reminders:
- Stamp, punch, glue, punch. You’ll definitely want a front and a back for your tags. To assemble the perfect two-layer tag, you COULD punch the two pieces and then glue them together, trying to match up the pieces the best you can. Instead, try this: stamp the image, punch it out, glue the punched image to a scrap piece of card stock and then punch again. Done! You can easily line up the already stamped image to ensure that your two images are perfectly aligned.
- Christmas isn’t all greens and reds. Unless your wrapping paper is all greens and reds, you want to make sure you include other colors, like the deep red and the pale blue shown here. You want your tags to coordinate with the paper – or accentuate the homemade treats you are offering.
Spend a couple of hours and make a ton of these tags. Package them up and give them as a gifts to your friends. Make sure you adorn the gift with a lovely, handmade tag!
Stamp sets: Tags til Christmas, Delightful Decorations Paper: Whisper White, Very Vanilla, Marina Mist, Real Red, Close to Cocoa (on the back of the pine tag) Ink: Marina Mist, Lucky Limeade, Bravo Burgundy, Garden Green, Close to Cocoa, Real Red Accessories: Ornament punch, 3/4″ Circle punch, Decorative Label punch, Extra-large Tag punch, 1-3/4″ Circle punch, Stampin’ Dimensionals
Thanks for stopping by my blog today!
Brian


