


Yesterday I shared a fun card with a bold sentiment and a background of the Tropical Oasis Designer Series Paper. As much as I want to say it’s a clean-and-simple design, there are lots of layers on this card, making it more of a clean-and-layered card. If you missed yesterday’s post (or want a refresher), click here.
Today I want to share three tips for the simple techniques I used to make card and the measurements for layering on the card. Let’s start with the tips:
- Unframed Designer Series Paper. I usually glue Designer Series Paper or Whisper White to a thicker piece of cardstock before popping up the layer with Stampin’ Dimensionals (and I almost always use Stampin’ Dimensionals). On this card, though, I just wanted the Designer Series Paper to pop up from the Old Olive base:
 Not to worry! I glued the panel of Tropical Oasis Designer Series Paper (cropped just a bit bigger than I wanted) to a piece of Old Olive (cropped at the same size). I then used my Mini Paper Cutter (a tiny guillotine cutter that’s part of the current Join Promotion) to crop the edges for a perfect fit. If you’d like to find out how you can get one of these Mini Paper Cutters, click here or email me.
 - Layering Vellum. If you follow me regularly, then you already know how much I love to layer vellum behind a focal image or sentiment. While I might glue a piece of cardstock to the vellum before popping that up with Stampin’ Dimensionals, I often pop up both layers. Here’s how I do it:
- Add Stampin’ Dimensionals to the back of the cardstock focal point.
- Adhere the cardstock focal point to a piece of vellum cardstock.
- Place Stampin’ Dimensionals over the Stampin’ Dimensionals that adhered the focal point to the vellum.

- Adhere this to the card front.
- Jump for joy! You’ve done it! If you’d like more inspiration for adding vellum to a card, I’d love for you to pop over to my post Four Ways to Add Vellum to a Card.
- Stamping a Solid Sentiment. Whisper White always gives me a clean, crisp stamped image. It can sometimes be difficult, though, to achieve a solid stamp on colored cardstock. I know of two great ways to get there: (1) on this card, I used my Stamparatus to stamp “hello friend” multiple times in the same exact place (the Stamparatus ensures the stamp hits the same spot on the cardstock each time) or (2) heat emboss the sentiment with Black Stampin’ Emboss Powder.
 Another Tip: when I stamp, I always hold the stamp on the cardstock for several seconds to let the ink soak into the paper before pulling the stamp away.
Here’s a look at the finished card I shared with you yesterday:
 Here are the measurements for the layers on the card (starting with the card base and working my way up to the sentiment layer):
- Basic Black – 4-1/4″ x 11″ (scored at 5-1/2″)
- Old Olive – 3-3/4″ x 5″
- Old Olive – 3-1/2″ x 4-3/4″
- Tropical Oasis Designer Series Paper – 3-1/2″ x 4-3/4″
- Stampin’ Dimensionals
- Basic Black – 3-1/2″ x 5/8″
- Real Red – 3-3/4″ x 1/4″
- Stampin’ Dimensionals
- Vellum Cardstock – Layering Circles Dies
- Stampin’ Dimensionals
- Old Olive – Layering Circles Dies
Here are links to the products I used on this project:


I hope you like my card, I hope you find these additional tips helpful.
Thanks for stopping by today!
Brian

New Product Coordination Products Now Available
Stampin’ Up! has released some amazing products that coordinate with products in Stampin’ Up!’s January – June 2020 Mini Catalog and 2020 Sale-a-Bration Brochure. You don’t wan to miss out on these items. You can see them all here: New Catalogs are LIVE
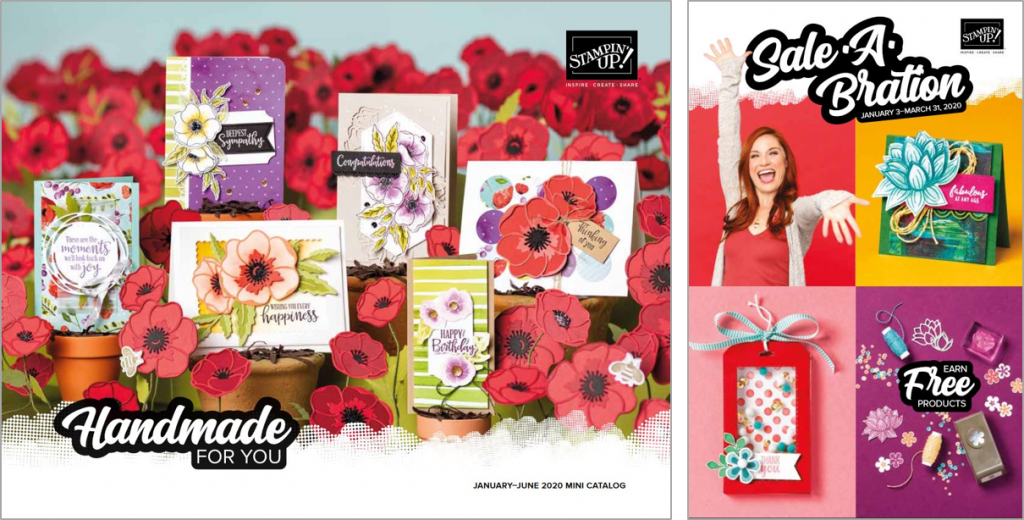 Stampin’ Up!’s January – June 2020 Mini Catalog and Sale-a-Bration catalogs are live to customers. What fun! The pages of the Mini Catalog are FILLED with amazing products you will need for your Valentine’s Day and Spring projects – so much to love! AND there are so many great products to earn through Sale-a-Bration. To download these books and read more about how you can earn during Sale-a-Bration, CLICK HERE.
 Placing an order today? Of course you are! If you are placing an order for $150 or more, I want you to enjoy all of the Host Rewards you have earned. If your order is less than $150, I’d love for you please add this Host Code – TSC3F37T – when prompted. Thank you!


Brian you know by now we have two things in common, large sentiments and lots of layers! This card is superb! Thank you for all the measurements. I often forget about using vellum, thanks for the reminder, it really does add a nice flair.
You are such a master of simple layering!
I love it when you share measurements and designs “from the bottom up “. Such a dramatic design, too, especially with the black Cardstock and the sentiment stamped on Old Olive.❤️
Thanks for another great card and awesome directions!
Great tips today. I especially liked the idea of adding the layer of cardstock under your DSP and trimming that layer to fit. I’m going to try that and try to remember to use more vellum. Thanks for sharing your little “tricks”.
Thanks, Brian!
Love the vellum! That was a generous amount of dimensionals on that circle! Ha!