


Yesterday, I shared a card with a simple color scheme and a simple sentiment. The pop of “wow” in the card was found in the borders and the matting I created with layers of cardstock (if you missed it, you can see that card here). You can really change to look of a card by changing the size of the borders around a sentiment or image. I filmed a video to show some of the options and to share some quick tips for effective cutting. Before you pop over to the video, I’ve selected a handful of cards from my recent past that showcase a variety of borders and mats. Let’s take a trip down memory lane – and then we’ll watch the video (again, filmed in the room with no pillows). 🙂 You can click on any of the pictures to see the original posts.
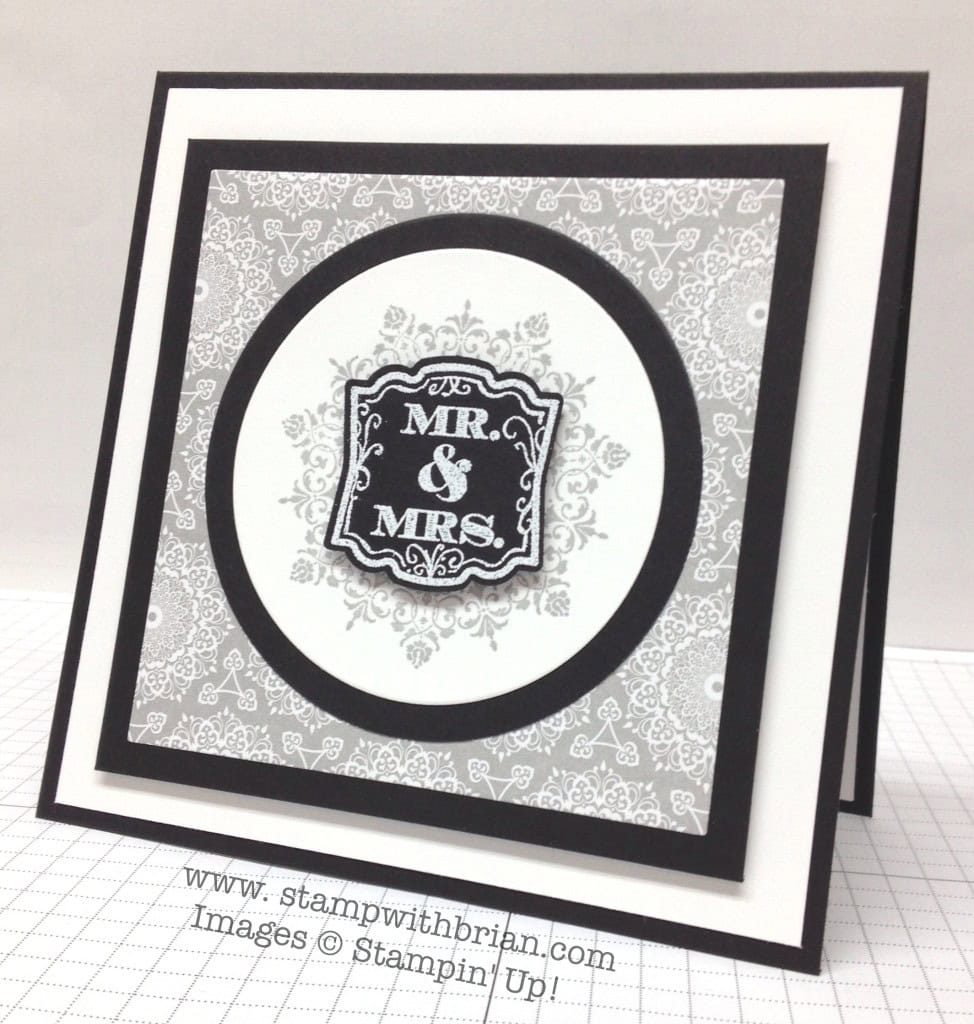
The Circles Collection Framelits nest inside each other. I mirrored the width of the border around the circle with the width of the border around the next layer. A thick white layer pulls focus in to the center of the card.
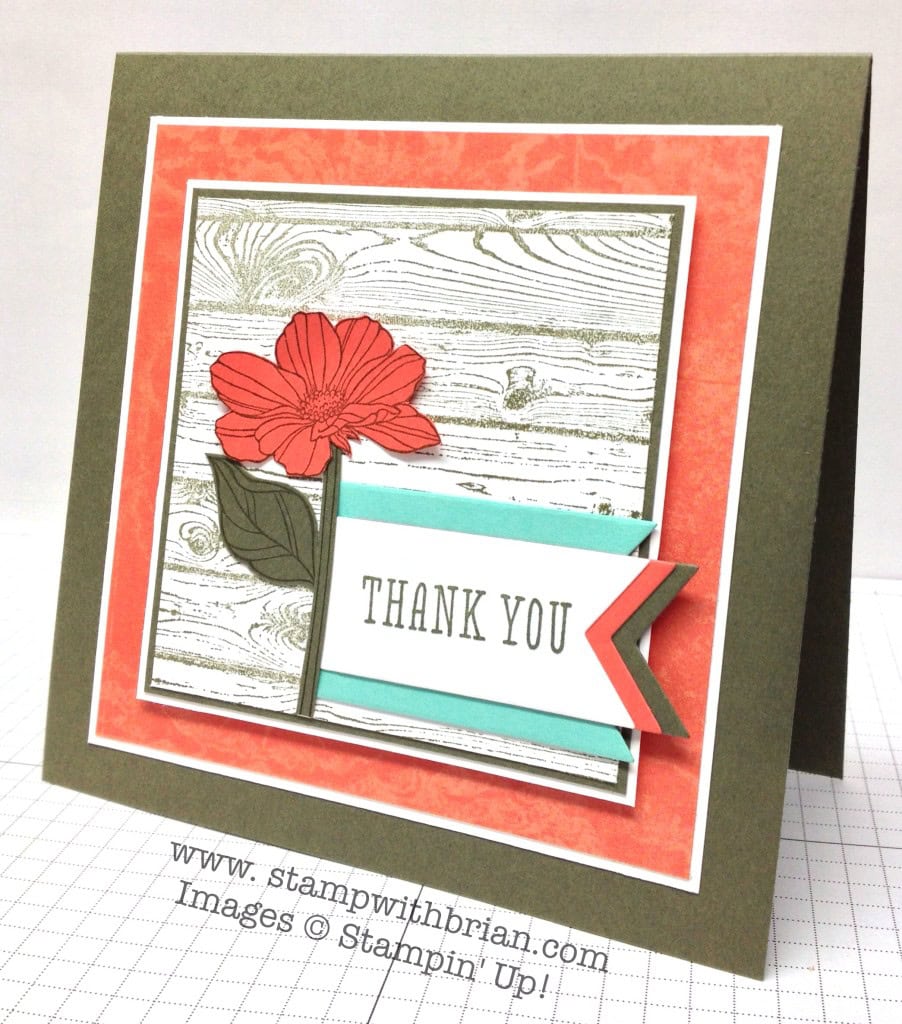
 Count the layers on this seemingly-simple card. The thin Very Vanilla layers are a great accent but are almost lost in the look of this card. I really like to accent an image or sentiment with Whisper White or Very Vanilla.
 This card has a thick, white border followed by a centerpiece with a super-thin pop of color around it.
 The borders on this card have to be studied to be appreciated. They all work well together to support the central image and sentiment.

What’ya say we take a look at the video?
I hope this was helpful. Please let me know if you have questions.
Brian


SAVE WHEN YOU BUY THE STARTER KIT. Between now and June 30, Stampin’ Up! is adding a reduced-price Starter Kit. The old one is still there ($99 for $125 of product – and FREE SHIPPING), but the new one ($50 for $55 of product – and FREE SHIPPING) gives you the option to create your Starter Kit at a reduced price. Perfect for a “test drive” or for a previous demonstrator to get a foot in the door again. There’s absolutely no obligation to purchase another thing after you join. Please contact me at stampwithbrian@gmail.com with questions or click here to join now.


Wow great video Brian. I love all the different examples it truly highlights the punch created by the different borders. I may do this myself as a reference guide when creating.
Great measuring tip. Love the difference that playing with border sizes makes.
Brilliant Brian great tip. Seeing all the different ways to frame a sentiment was an eye opener. Thank you.
Wow – the visual on those samples was really enlightening. I would have never imagined the difference in impact changing up the matting does to an image. Thanks for the video!
Great points made in the video! I typically matt one dimension how boring is that! It’s true the sentiment’s sure took on a different nature when the matts changed in background size. Way cool!
I know it wasn’t your intention but you sold me on the SU Trimmer. I HAVE to get one now. Nice cards too.
Thanks for the great tips Brian. And on one of these videos we’re going to see some stunning pillows on those chairs! : )
Great tips Brian!
Dear 15 Layer Brian,
You have made a believer out of me. What a difference the matting makes. That was a powerful video. I hope you will post the cards in the video in a future blog so we can choose which one we like the most.
Have a great weekend in the fungeon snip, snip, snip!
Great instructional video. What a difference the different borders make. Thanks for the inspiration.
Great video! It was interesting to see how each sentiment looked so different depending on the different widths of borders you used. Some of them, I thought, seemed to make the sentiment pop more, and others seemed to make it fade into the background. So depending on what you wanted to do with your focal point, you could just play around with them. I am going to CASE some of these different sizes of borders and keep them for reference. As always, I appreciate your daily inspiration (and humor).
I agree with everyone else Brian and I have to echo Carole. What a powerful visual in your video!!!
Thanks for the great tips. I always admire someone who is willing to share tips. Have a great weekend.
Sharon Storm
Awesome video! Who knew what a difference the borders could make?? Any chance you could post all the borders so we can use them as reference?? 🙂
Great – great video! Thank you for taking the time to do all that matting! Very – very effective! A+!
WOW…. What a difference the different borders make. Please post the cards individually on your bog. Thank you for sharing. I love the clean lines on your cards & your dry humour. Cheers
The video was very helpful. It was great seeing all the different borders and how it changed the look of the card. Thanks for sharing this video!
Oh my Brian – what an awakening that video was. Since I’m a visual learner you could have explained that a dozen different ways and I would not have realized the impact of the borders. But, seeing them as you so selflessly showed us, really kind of woke me up to understanding the difference borders make. Thank you so much. You are not only our fearless leader but a terrific teacher as well.
The borders really do complete the card and this video showed the differences in making the sentiment stand out. Very useful video. Thanks so much for your time and talent! The cards were nice too !
How do I love thee? Let me count the layers.
Thanks for this video!
Wonderful tips on using the trimmer! Your display of varying border sizes and amounts showcased the impact they have on your focus image or sentiment!!! Will put my trimmer to work this weekend! Thanks for an inspiring video!
Love your helpful tips and showing us so many examples. You are rockin’ the videos, too!
O.k., Brian, you are now the acknowledged “King of Borders!”
Nice job on the video! Thanks.
Brian,
Thanks so much for always sharing your knowledge……great measuring tips using the Stampin’ Up! Trimmer….I just got one with my first new catalog order ~ I too love to layer and add borders and matting….adds so much to each card! Can’t wait to meet you at my FIRST Convention! Keep making those videos 🙂
What a difference a border makes!!!!! Sheeesh!! Brian, this video is ever so helpful and perfectly explained, thank you so much for taking the time to make it. All of this samples look so very different, even if the sentiment was the same by just changing the measurements of the border. Great, wonderful tips!! 🙂
Love seeing how the different depths of color make such a difference on the overall feel of the card. So many to choose from! Do you have any favorites that you like to use?
Thank you so much! Seeing the same sentiment with all the different borders was amazing. I didn’t realize how much impact the borders could have. You are an awesome teacher!
Seeing is believing. Thanks for your time and your creativity.
I loved the “000000’s and aaahhhhh’s”! You gave great tips and showed many good examples. Thanks for the info. Good job as always.
This video and all these comments show us why “U R THE MAN!” I hear so much about from Susan Itell and Mary Fish, etc!
I learn so much from your video tutorials, Brian, and the one today on borders/matting was really helpful. Thank you so much! Susan
Great info. Brian. Maybe you could put that together as a PDF…it would be a great instructional tool for classes. Matting does make the difference! Question: Do you ever cut out the centers of your backing pieces to help on the weight (punch out an oval, circle or rectangle)? Thanks so much for sharing!
Great tips Brian. Thanks
Great tips on different ways to mat your sentiment Brian. The visuals really help make it clear and give ideas for how to make our own cards more unique.
Love the visual on the borders. What great information to share with our customers. Let them really see how they look. Thank you so much for sharing!
Absolutely fantabulous, Brian! I’ve never seen this explained or demonstrated (pun intended) so well. I’m struggling with the layout of a card for a swap and I think you came up with the solution for me — I’ll just play with the borders surrounding the sentiment. By the way, I called a girlfriend for ideas and she directed me to your blog, which I hadn’t yet seen today. Thankutoomuch for providing the answer before I asked the question.
Just another one of your many adoring fans,
Rocky
Wow! What a real eye-opener!! Thanks for sharing!
I really enjoyed this video very much. Thank you for sharing how different one stamp can look with the different borders. I enjoy your site everyday and have learned a lot from you.
This presentation “borders” on brilliant . What great information and something I haven`t seen covered before . I am glad I stopped in even though it`s late ! Nightie night !
Another late comment….Really love this video. It’s something we may think about, but don’t believe I’ve delved into playing with borders to this extent. Great information and thought provoking ideas as well as great examples! 🙂
I did watch your wonderful video on “borders” first thing yesterday morning! And, as it has been said, it was GREAT! I am usually so busy just trying to get my layers on perfectly straight that I don’t even think to vary their sizes! Thank goodness we have you, Brian! I, also, didn’t comment yesterday because I was too tempted to mention the p-i-l-l-o-w word. And thought I shouldn’t! 😉 Have a GREAT rest of your weekend even though I am sure you are SO BUSY with your product shares!
Thanks for the tip on measuring then just sliding 2 notches to increase the matte size for an 1/8 inch. Much simpler than storing another number in my head!
Wonderful info! Thanks for sharing. Love your clean and simple design style.
I think that’s why I love your cards so much. Without me realizing it, you’ve been able to sneak colors into a card by making a 1/16″ border, or made a sentiment really pop by giving it the perfect border with just the right colors and sizes. Amazing. I feel like I’m really going to have to buckle down and study the next time I want to make a card and make sure I’ve got the borders just right! Thanks for the help! And having the four of them lined up at the end really helped me to see it how it would look having those different borders. Really helpful!
I love your videos. They are always so informative. I can’t decide which border I prefer, but it was amazing seeing how different they all looked. Thank you!!
So clean and neat, love this style using borders of different widths, makes all the difference on how the card looks!
Thank you, Brian. I don’t do a lot of matting because I’m too lazy to do all those cuts, and I feel like I’m being wasteful on cardstock. Silly, I know. However, I like the simplicity and elegance of matting. Thank you again. So happy I discovered your blog.
Thanks for sharing your cards with mats. I love the clean look of the mats and amidst all the fancy, “vintage” (mine never quite come out either) cards, I’m inspired by yours.
Thanks Brian for showing all the samples! I too would love a pdf of the samples. It took me a long time to realise the power of borders and subsequently falling in love with matting. I used to think it so wasteful of perfectly good cs to be covered up. I got over that by punching out the middle bit 🙂 You are so right that different size and layers of borders create vastly different look/feel – but my problem always is which one to choose, lol! They all look fabulous to me!